Buildings guide
Plan construction, compare producers and services, and learn about upgrades, trades and caravan journeys.
Choose a building for what it does. Producers add materials over time; service buildings support trades or journeys. The catalogue below shows only published, visible building types offered by this installation.
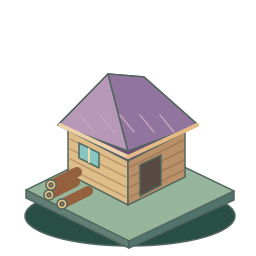
Sawmill
Turns a Wood shortage into a longer-term production decision.
Produces Wood while active.
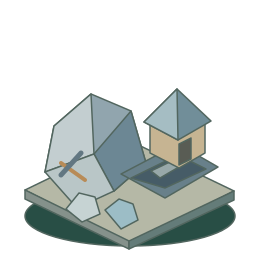
Quarry
Supports Stone needs alongside manual rock gathering.
Produces Stone while active.
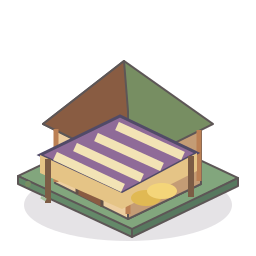
Trading Post
Exchanges the materials in an available offer for Iron.
Service building: no hourly material production.

Iron Mine
Produces Iron for the village’s material supply.
Produces Iron while active.

Caravan Station
Sends merchants on timed journeys with stated supplies to collect on return.
Service building: no hourly material production.

Wood Storage
Adds capacity for Wood, according to its completed level.
Service building: no hourly material production.

Stone Storage
Adds capacity for Stone, according to its completed level.
Service building: no hourly material production.

Iron Storage
Adds capacity for Iron, according to its completed level.
Service building: no hourly material production.
Museum
Exhibit earned achievements and collected decorations. Each level adds three exhibit spaces.
Service building: no hourly material production.
Library
Publish your village stories. Each level adds a story page for visitors to read.
Service building: no hourly material production.
Clock Tower
Keep village time and review ongoing construction and upgrades.
Service building: no hourly material production.
Before you confirm construction
- Compare materials, construction time and requirements in the building list. A locked action explains what is missing.
- Choose an open location that fits the building. The map rejects water and occupied ground.
- Check available builders. An unfinished construction or upgrade uses a building slot.
- Confirm once, then wait for completion. Check the village again after returning.
Upgrades and production
An upgrade spends the listed materials and takes time. Compare the current and next level before starting: a producer pauses during the upgrade and resumes at the completed level. Limits on levels and the number of each building can differ. Use the values shown in your village rather than assuming every building follows the same rule.
Trades and caravan journeys
When offered, the Trading Post exchanges the declared materials for Iron. Read the quantity and total before confirming. Daily trade allowances preserve village progression.
A Caravan Station sends merchants on a timed journey using the shown supplies. Return after arrival to claim its stated Iron. A station with a journey in progress must have its caravan claimed before it can be upgraded or demolished. Leave enough storage space for the return.
Moving and demolishing
Use these actions only when the building offers them. Moving still needs a valid clear location. Demolishing removes the building, and any refund depends on its current rules. Read the confirmation; do not assume you will recover everything you spent.